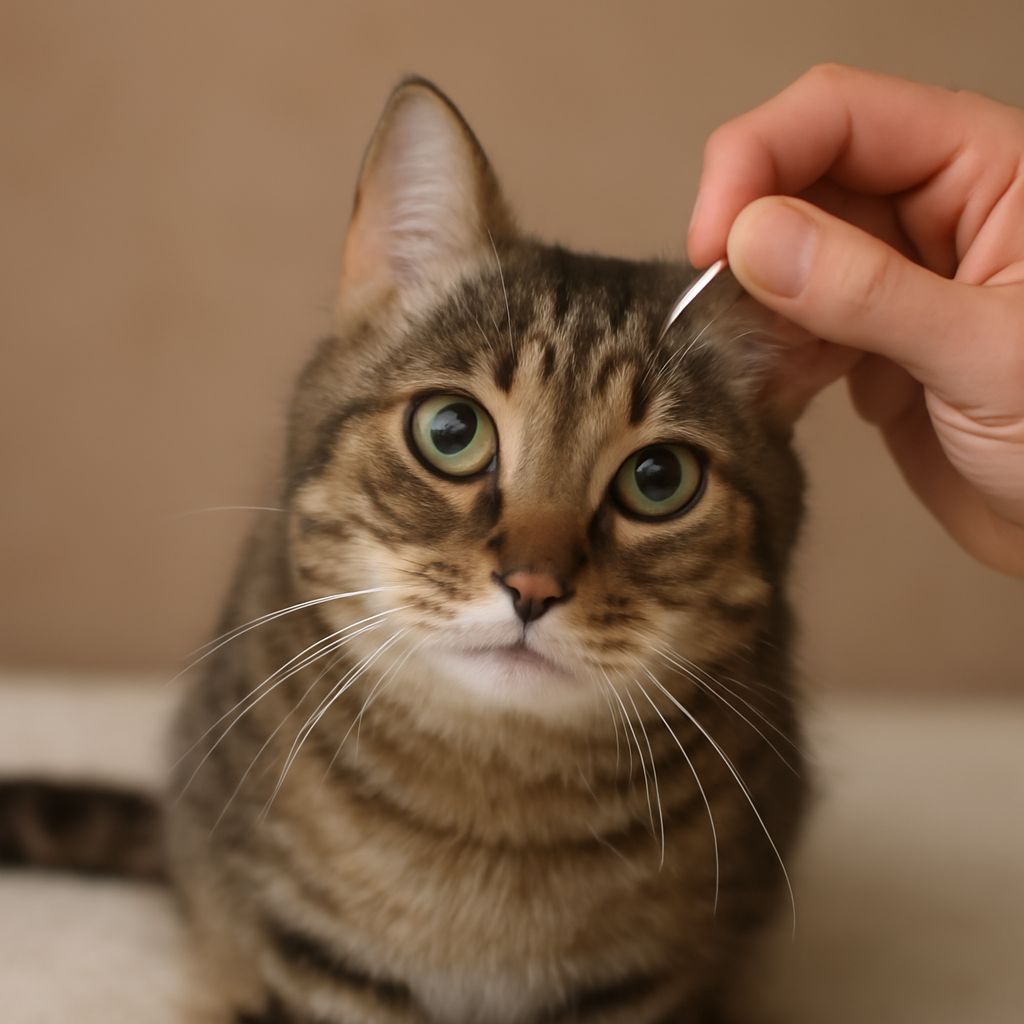
Imagine you’ve just brought your furry friend in for a cuddle, when you notice they keep shaking their head and scratching at their ears. You’re concerned there might be an issue, but you’re not sure how to check or clean a cat’s ears safely. Understanding how to clean cat ears effectively is crucial, not only for preventing infections but also for maintaining your pet’s overall health. A few simple steps can help you clean your cat’s ears with care, avoiding potential complications.
Understanding the Importance of Cleaning Cat Ears
Cleaning a cat’s ears is an essential aspect of feline hygiene. Regular ear cleaning helps prevent the build-up of wax and dirt, which can cause irritation or lead to infections. Cats are generally good at cleaning themselves, but sometimes they need a little help, particularly if they have long hair or are prone to ear issues. Maintaining cleanliness ensures your cat remains happy and healthy.
In addition, by routinely checking and cleaning your cat’s ears, you can detect early signs of problems such as mites or infections. This proactive approach makes it easier to address potential issues before they become serious health concerns.
Preparing to Clean Cats Ears
Before you begin cleaning your cat’s ears, gather all necessary supplies. You’ll need a cat-friendly ear cleaning solution, which can often be found at pet stores or veterinary clinics. Avoid using cotton swabs, as they can push debris further into the ear canal. Instead, opt for cotton balls or soft gauze pads.
Choose a quiet, comfortable location where you and your cat can remain calm. It might be helpful to enlist someone to gently hold your cat, ensuring they stay still during the process. Patience is key, as some cats may be resistant to having their ears cleaned initially.
Step-by-Step Guide to Clean Cat Ears
1. Start by gently holding your cat’s head, and inspect their ears for any signs of redness, swelling, or foul odor. These could indicate an underlying issue that may require veterinary attention.
2. Moisten a cotton ball or gauze pad with the ear cleaning solution. Be sure to check the product’s instructions for proper use.
3. Carefully wipe the outer part of the ear, removing any wax or dirt. Do not insert anything into the ear canal, as this can cause damage.
4. Allow your cat to shake their head, as this helps dislodge deeper debris. Use another cotton ball to clean what is expelled.
5. Reward your cat with praise or a treat to make the experience more positive. Regular cleaning, coupled with positive reinforcement, can make this process easier over time.
Common Mistakes When Cleaning Cat Ears
A common mistake when cleaning cat ears is using inappropriate tools, such as cotton swabs, which can lead to injury. Another error is cleaning too frequently, which can irritate the delicate skin inside the ear. It’s important to follow recommended guidelines on how often to clean a cat’s ears, typically once a month, unless advised otherwise by a veterinarian.
Additionally, applying too much pressure or inserting cleaning tools into the ear canal can cause trauma. Gentle handling is essential to avoid complications and ensure the comfort of your cat.
Signs of Ear Problems in Cats
Cats often exhibit signs when experiencing ear issues. If your cat is frequently shaking their head, scratching at their ears, or showing signs of discomfort, they may have an ear infection or ear mites. A bad odor or discharge from the ear is also a cause for concern and should prompt a visit to the vet.
Early detection and treatment are crucial for preventing more severe problems, such as hearing loss or chronic infection. Regularly checking your cat’s ears and being aware of these signs can help maintain their ear health.
Safety recap: When using ear cleaning solutions, always choose products specifically designed for feline use to avoid irritation. Handle your cat’s ears gently, and avoid inserting objects into the ear canal to prevent damage.